

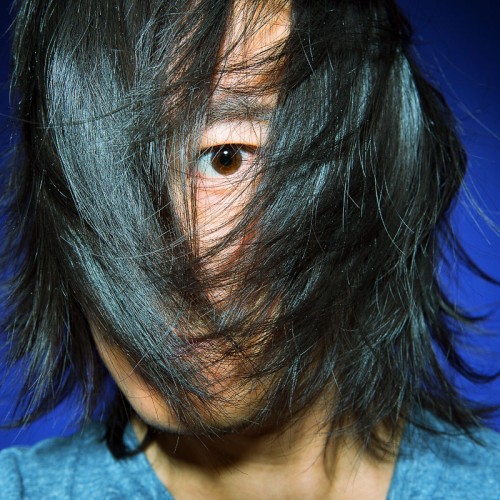
Here’s a self-portrait I took just by holding the camera in front of me. Classic selfie technique.
If you’re a photographer interested in shooting people, one of the most useful educational tools you have is yourself. Taking self-portraits is a great way to learn the art of portraiture. When I first started getting serious about photography, I used myself as a subject all the time. Every time I got a new lens or piece of lighting equipment, I’d use it to snap a few selfies to get a handle on how it worked.
Why shoot yourself?
There are a lot of benefits to using self-portraiture as a learning tool. For one thing, you need not fear offending your subject. You won’t have to work too hard to convince yourself to get in front of the camera. Also, no one will feel nervous because you don’t look like you know what you’re doing. But perhaps the greatest benefit is that you can freely experiment without fear of consequence; if you don’t like the photo, just delete it. No one will ever be the wiser!
Here are a few of the things you can experiment with when shooting self-portraits:
- Light (type, angle, diffusion, brightness)
- Composition and framing
- Pose
- Use of shadows
- Lenses
- Zoom (focal length)
- Distance
- Negative space
- Focus
- Aperture
- Shutter speed
Just playing around with these few things will let you give you a great idea of what is flattering, what is not. You’ll learn a lot about yourself and your camera too. Best of all, you’ll feel more confident when you have someone else in front of your lens.
Self-portrait technique and equipment
Just like any other kind of portrait, you don’t need a lot of equipment to shoot a selfie; of course your needs will expand as you learn more about photography and want to fill in the holes in your style, but to start, all you need is your camera and (obviously) yourself. Start with the widest angle you can get and point the camera back at yourself at arm’s length. Unless you’ve got a fancy camera with a swiveling LCD that points back at you, aiming can be tricky at first. Once you start getting better at it, you can start zooming in or using longer lenses to get different crops or perspective effects.
Self-portraits get a little more difficult when you get further from the camera. The first challenge is taking the picture itself when you’re not near the camera. Check out your camera for a self-timer feature. Most cameras have one. Some cameras even allow you to adjust the amount of time between pressing the shutter release and the taking of the picture. It’s usually between 3 and 10 seconds. Read your manual because knowing how to work this feature properly can be very handy.
You might be lucky enough to have a remote control of some kind. Remote controls are great because they will often start the autofocus when you press the button on the remote control. That means you don’t have to pre-focus the camera on where you guess you’re going to be. The camera will have you in frame already and will (with any luck) focus precisely on you. Even better is the remote control that can be combined with the self timer. That way you don’t have a lot of pictures of yourself pointing a remote control at the camera.
Next, you’ll need to put the camera somewhere. A tripod is the most typical choice, and is perfectly suited to the job. However, not everyone has a tripod with them when the urge or opportunity for a great selfie presents itself. In these moments, you can improvise. In the past, I’ve used my folded up jacket, trees, my backpack, the tops of stone walls, the ground and other convenient surfaces to hold my camera. Just make sure it’s secure… otherwise you might have a photo of yourself running towards the camera looking panicked as it topples to the ground.
A note about focus
Focusing is probably the hardest thing about doing self-portraits. When using the self-timer, most cameras will focus as soon as you start the timer. This does no good if you’re not in the frame. Try putting something where you plan to be (chair, light stand, etc.) so you can focus on that when you’re behind the camera. Once you’ve started the timer, you can move that item out of the shot. If your camera has manual focus (like most SLRs,) you can set the focus once and just lock it down on that distance. Autofocus users will have to repeat the process for each shot. You can also use smaller apertures on your camera to get greater depth of field. Wide angle lenses and greater distances from the camera also produce greater depth of field. With practice and ingenuity, you’ll find a focus technique that works best for your own selfies.
What have you learned from doing self-portraits? Tell me in the comments.
You’re back!!
And you’re still here! Woohoo! 🙂
I remember how much complaining we did back in the dA days about all the self-portraits. I guess it’s not about the concept, it’s about how most people use it.
https://browse.deviantart.com/photography/people/selfportrait/?order=9
Yes I think back in those days, my problems were more about people using the wrong category for their self-portraits, or the blatant underage nudity involved!